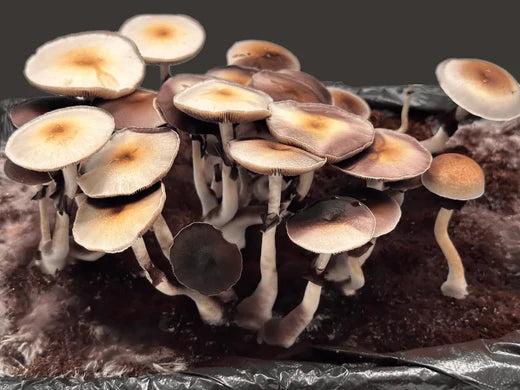

Embark on a fascinating journey from spore to harvest with our ultimate step-by-step guide to growing magic mushrooms. Whether you're a seasoned cultivator or a curious beginner, this comprehensive guide will equip you with the knowledge and techniques necessary to grow your very own psychedelic fungi. With their mesmerizing colors and mind-altering properties, magic mushrooms have captivated the human imagination for centuries. Now, you can unlock the secrets of their cultivation and experience the thrill of watching these extraordinary organisms flourish under your care. From selecting the right strains and creating an optimal growing environment to nurturing the mycelium and harvesting the potent fruits, our guide covers every aspect of the mushroom cultivation process. Join us as we dive into the magical world of mycology and empower you to embark on a mystical journey like no other. Get ready to unleash your inner alchemist and discover the joy of growing magic mushrooms!
Understanding the Life Cycle of Magic Mushrooms
To successfully grow magic mushrooms, it's important to understand their life cycle. The journey begins with spores, which are microscopic reproductive cells. These spores contain the genetic material needed to produce mushrooms. When conditions are favorable, spores germinate, forming a network of fine, thread-like structures called mycelium. The mycelium acts as the root system of the mushroom, absorbing nutrients from the substrate it grows on. As the mycelium matures, it begins to form the fruiting bodies we know as mushrooms. These mushrooms then release spores into the environment, continuing the cycle.

Choosing the Right Mushroom Strain for Cultivation
When it comes to growing magic mushrooms, choosing the right strain is crucial. Different strains have varying potency, growth requirements, and visual characteristics. Some popular strains include Psilocybe cubensis, Psilocybe semilanceata, and Psilocybe cyanescens. Each strain has its own unique attributes, so it's important to research and select the one that aligns with your preferences and growing conditions. Consider factors such as growth speed, temperature and humidity preferences, and desired visual effects. Once you've chosen a strain, you can proceed to the next step of the cultivation process.
Table Of Contents
Common Mistakes to Avoid in Magic Mushroom Cultivation
While growing magic mushrooms can be a rewarding experience, it's important to be aware of common mistakes that can hinder successful cultivation. One common mistake is failing to maintain proper cleanliness and sterilization throughout the process. Contamination can quickly ruin your entire crop. It's also important to pay attention to temperature and humidity levels, as fluctuations can negatively impact the growth of your mushrooms. Overwatering or under-watering can also be detrimental. It's crucial to strike the right balance to prevent mold and promote healthy growth. Lastly, rushing the process or skipping steps can lead to poor results. Patience and attention to detail are key in successful mushroom cultivation.
Check out our: Mycology Glossary

Legal Considerations and Safety Precautions
Before embarking on your mushroom cultivation journey, it's important to understand the legal considerations and safety precautions. The legality of magic mushroom cultivation varies from country to country and even within different regions. Research the laws and regulations in your area to ensure you are in compliance. Additionally, it's essential to prioritize safety throughout the cultivation process. Wear gloves, a mask, and protective eyewear when handling spores, substrates, and harvested mushrooms. Practice proper hygiene and cleanliness to minimize the risk of contamination. Taking these precautions not only protects your health but also ensures a successful cultivation experience

Resources for Further Learning and Support
If you're passionate about mycology and want to delve deeper into the world of magic mushroom cultivation, there are plenty of resources available to expand your knowledge. Online forums, books, and video tutorials can provide valuable insights and practical tips from experienced cultivators. Connecting with like-minded individuals can also offer support and guidance along the way. Remember, learning is a continuous process, and there is always something new to discover in the field of mushroom cultivation.

1. Growing psychedelic mushrooms
Mushrooms are a resilient crop that can be cultivated in a variety of different environments, both big and small.You don’t need to have the ‘perfect’ space to start growing magic mushrooms, a spare bedroom, basement, or even a vacant closet will work.
Apartments, houses, warehouses, and outdoor spaces can all become suitable spots to successfully cultivate your own mushrooms.
If cultivating mushrooms is something you have always been curious about, don’t hesitate, now is the time to get started.
2. How to Grow Magic Mushrooms
2.1 Step 1 - Mushroom Substrate
Supplies:
- Mushroom Substrate medium
- Bucket or pot
2.1.1. What is Mushroom Substrate?
Mushroom Substrate is any substance that mycelium can grow on. Once mycelium has grown on a substance it is often referred to as being colonized.
Grains, straw, popcorn kernels are all examples of suitable mushroom Substrate. Although for magic mushrooms we recommended grains such as rye berries and whole oats.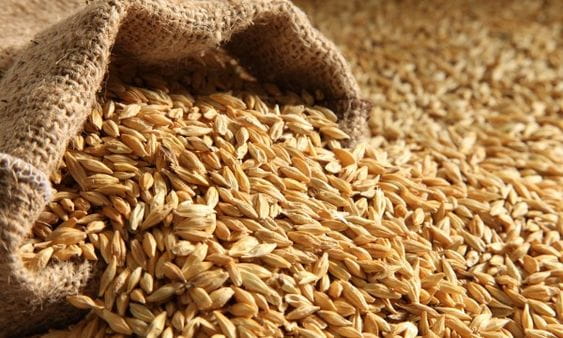
Rye and oats are most commonly used for their high water retention and accessibility.
You may be wondering where to find high quality mushroom Substrate, it can be sourced locally or you can purchase our organic Substrate. We offer both dry and pre-sterilized options.
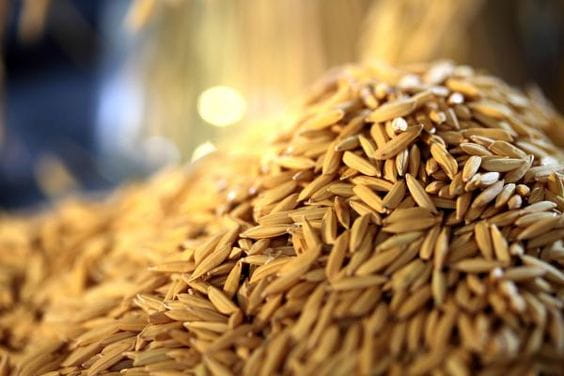
2.1.2 Preparing Mushroom Grain Substrate
Begin by rinsing the mushroom substrate in a bucket or pot with clean water at least twice. Once the substrate is clean, drain the excess water.
Next up is soaking, the purpose of soaking your grain substrate is to allow it to absorb as much water as possible. As you learn to grow mushrooms you will also learn how much mushrooms love and need water to flourish.
Soak the substrate in water for 12 to 24 hours. After the substrate has visibly absorbed most of the water, drain the excess water.
The last step to maximize water absorption within your substrate is the simmering and supplement phase.
Bring the grain substrate to a simmer on the stove for a short amount of time, allowing it to absorb as much water as possible without bursting the shells of the grain. This is also the optimal time to add any extra supplements to the substrate.
Drying the substrate is the next task. The goal is to ensure the outside of the grain is dry while maintaining the hydration inside the grain, avoiding over-drying whenever possible.
Drying can be achieved with many methods such as air drying in a strainer, laying the substrate on towels, window screens, and adding a fan as needed to speed the process up.
2.2 Step 2 - Mushroom Grain Substrate Sterilization
Supplies:
- Pressure Cooker
- Impulse Sealer
- Isopropyl alcohol
- Gloves
- Mushroom Filtered Bags
2.2.1 Why do we Sterilize Grain Substrate?
Sterilization of mushroom grain substrate kills harmful bacteria and other microbes within the substrate. Sterilizing the substrate will give your mycelium the best chance at successfully colonizing your grain substrate without interference from unwanted pathogens.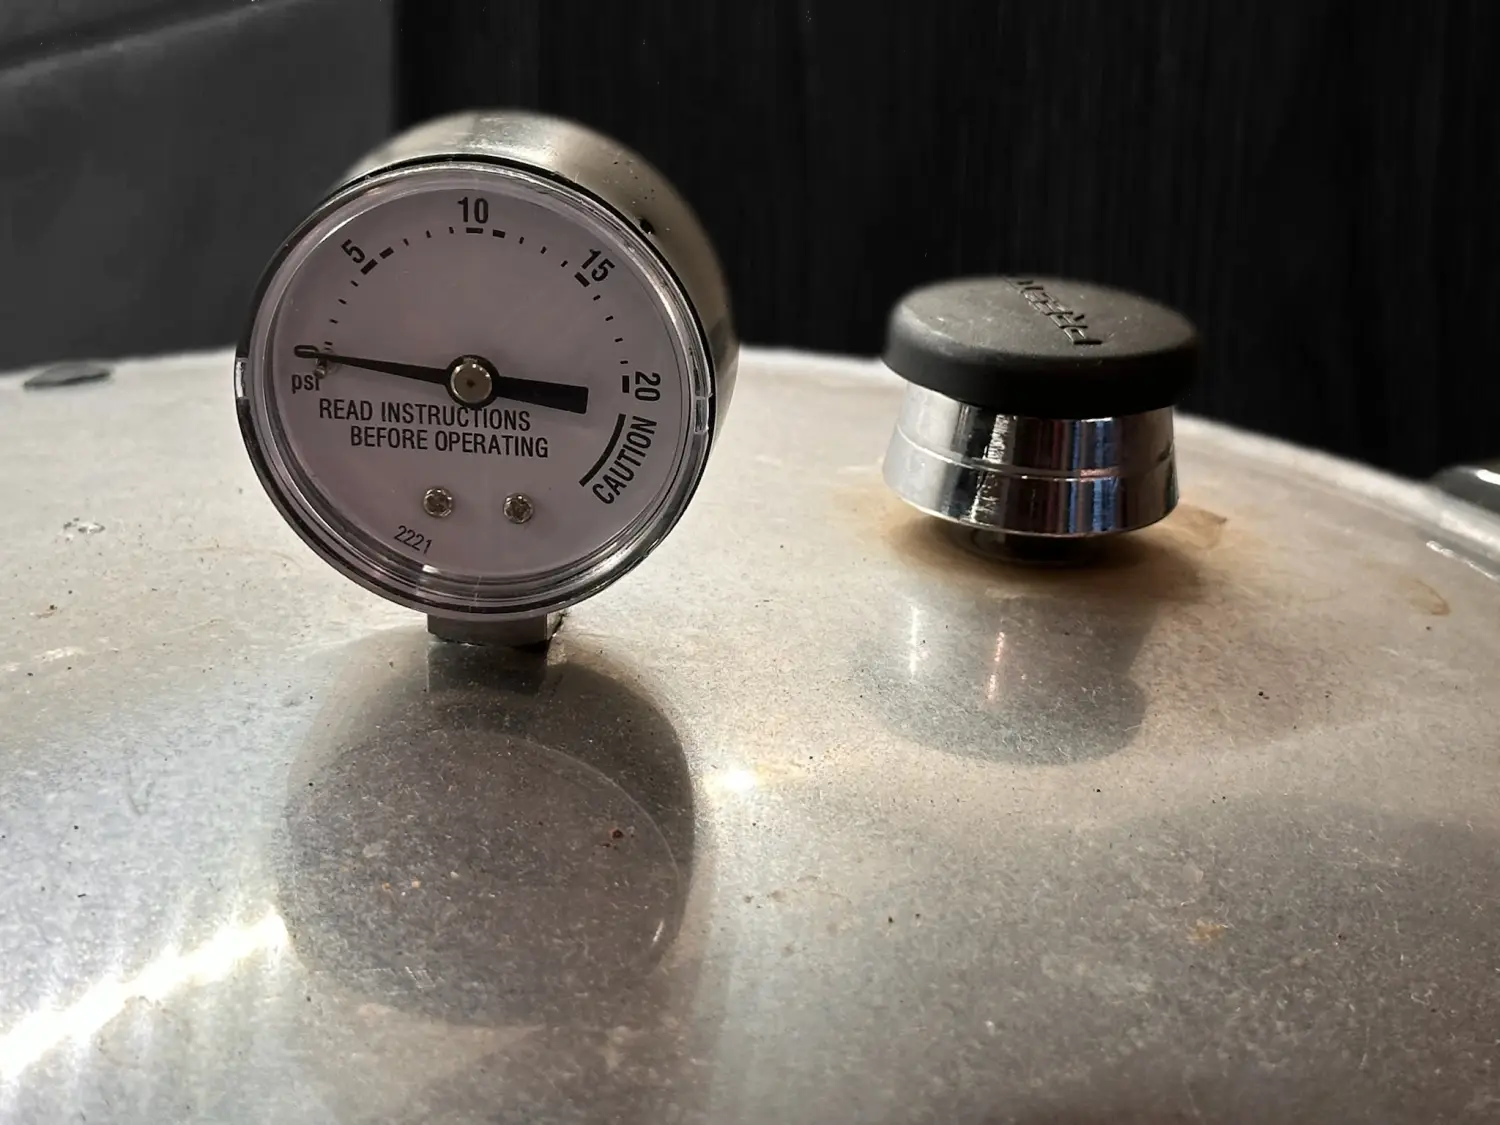
2.2.2 Grain Sterilization
Begin by filling heat resistance filtered mushroom substrate bags or mason jars with the grain substrate you prepared earlier. The amount of grain you use is entirely up to you.
Fold or wrap the open part of the mushroom bag around itself, then load the grain substrate bags or jars into your pressure cooker.
Next, sterilize the grain at 15 PSI and for 1 hour and 30 minutes to 2 hours and 30 minutes. PSI and sterilization times will vary depending on which substrate you choose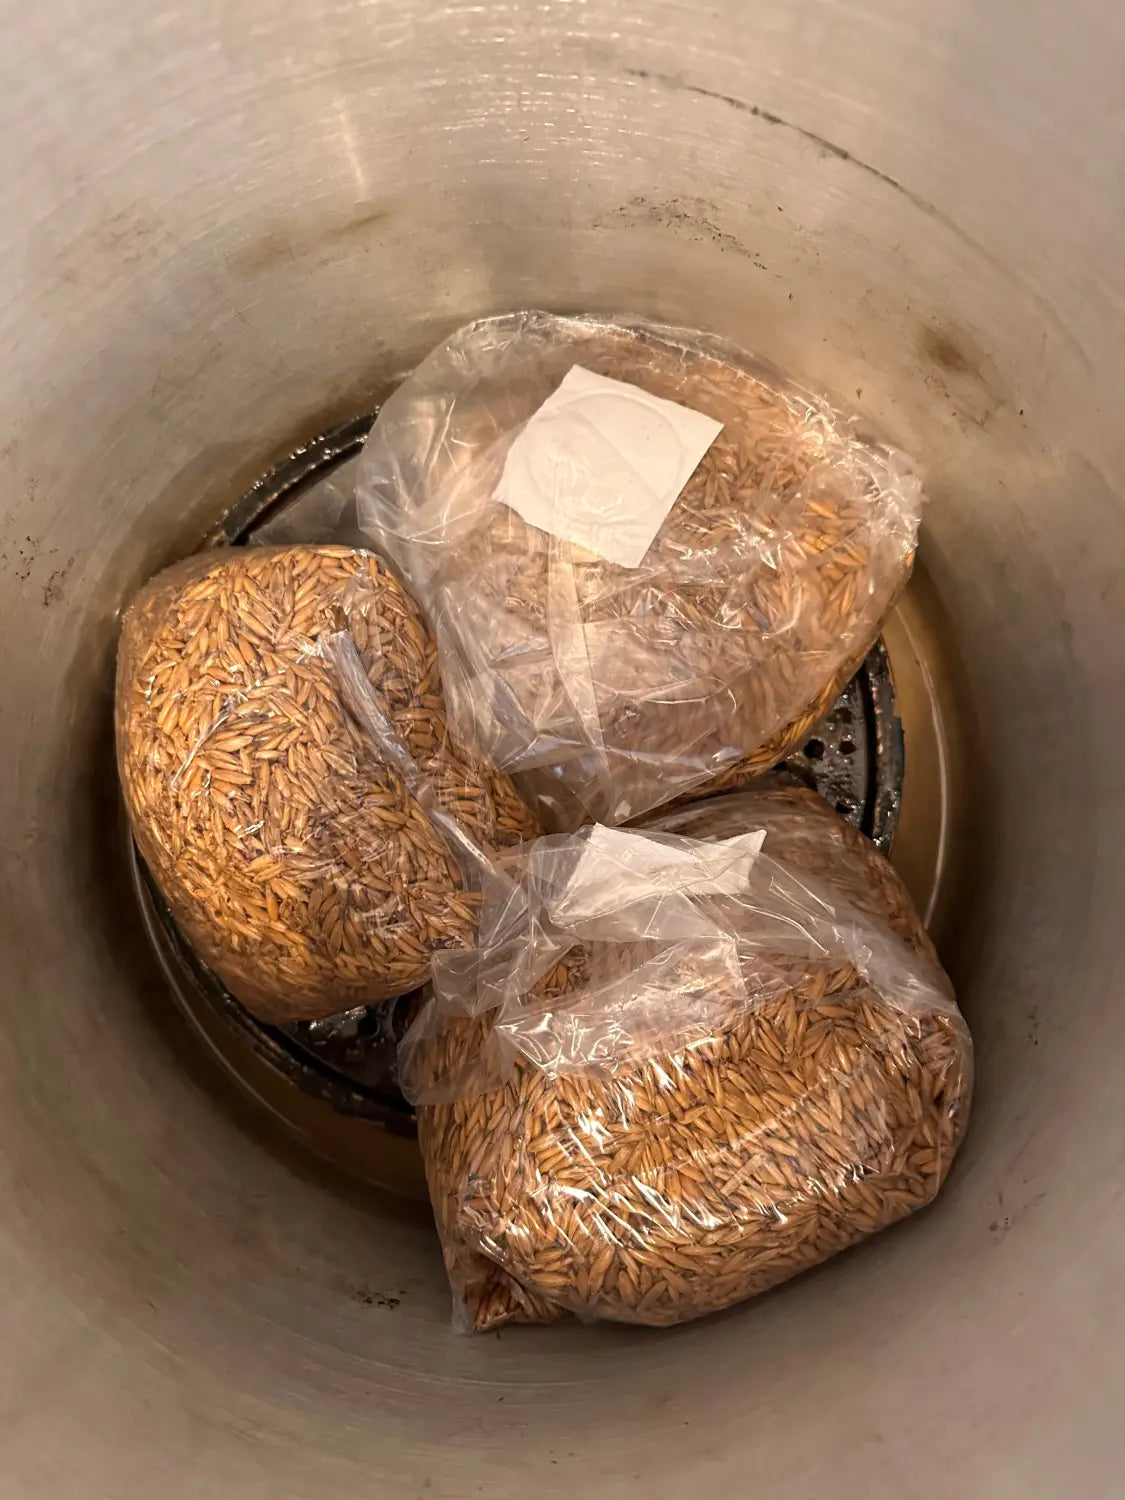
Now it’s time to remove the sterilized grain substrate. From this point forward, it’s imperative to ensure your workspace, tools, and self are clean. Clean everything with Isopropyl alcohol and perform tasks in a still air box or in front of a flow hood , while wearing gloves.
Remove the bags from the pressure cooker and seal them as quickly as possible using an impulse sealer. If you are using jars, the lid will already be on, so you may skip this step.
Allow the bags or jars of substrate to cool completely before proceeding to inoculation.
2.3 Step 3 - Inoculation of Mushroom Substrate
Supplies
- Mushroom Genetics
- Isopropyl Alcohol
- Gloves
- Impulse Sealer
- Micro Pore Tape
- Flow Hood (recommended)
- Still Air Bix
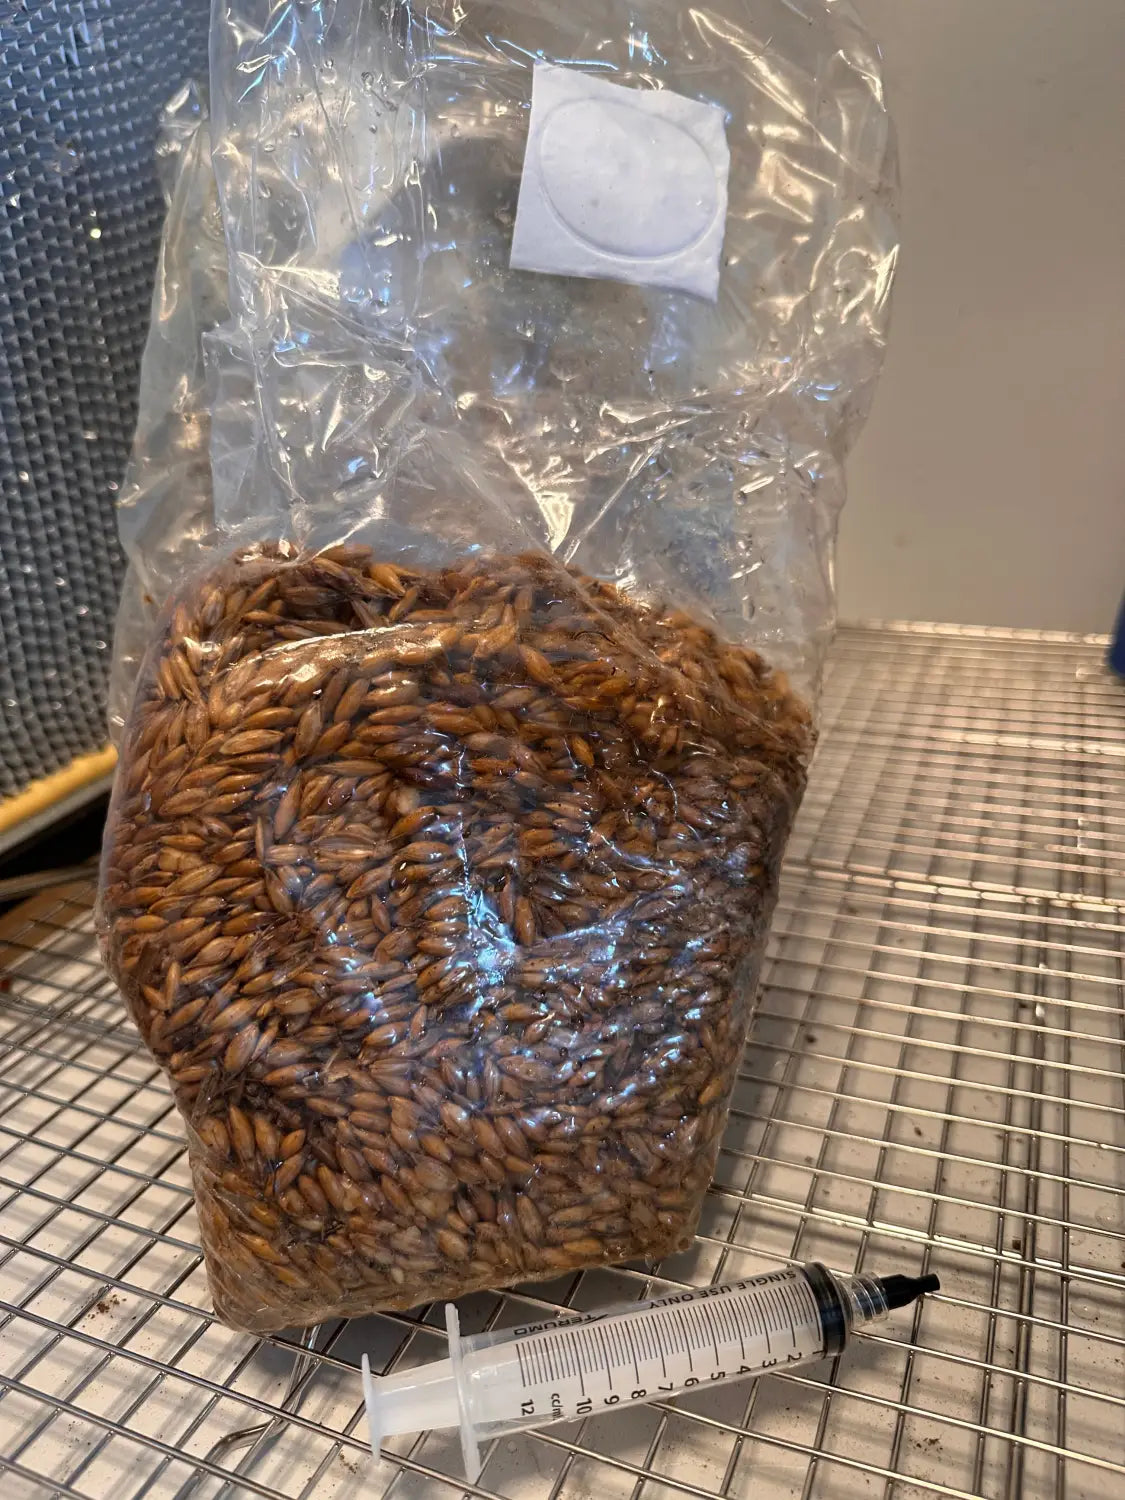
To inoculate your substrate with mycelium you either need spores, or another substance that already has mycelium growing in it, such as colonized spawn, agar, or liquid culture.
At Planet Spores we specialize in researching and producing active magic mushroom spores. In our genetics section you can find a wide range of spore syringes ready for inoculation.
Before you begin inoculation, ensure you have cleaned everything thoroughly.
To inoculate mushroom substrate with a spore syringe, begin by allowing the syringe to reach room temperature. Shake the syringe well before injecting some or all of the spore solution into the substrate medium.
After spore injection, it’s important to seal off the injection area to prevent unwanted mold and other fungi species from competing with the mushrooms that you are trying to grow.
2.4 Step 4 - Mushroom Grain Spawn Colonization
Now the waiting game begins, we must place the newly inoculated mushroom grain substrate in a warm dark place to allow the mycelium to fully colonize the spawn medium.
Colonization can take anywhere from 2 weeks to 2 months. Times vary greatly depending on the quality of the mycelium, environmental conditions, and how well you prepared the substrate medium in the previous steps.
Full colonization is achieved when you see most or all of the spawn medium covered by a thick network of white mycelium.
2.5 Step 5 - Preparing Mushroom Substrate
2.5.1 Choosing a Mushroom Substrate
Supplies:
- Gloves
- Isopropyl Alcohol
- Substrate Mixture
- Mixing Buckets
- Flow Hood
- Still Air Box
The next step to growing mushrooms is to choose and prepare mushroom substrate. Later down the line you will mix this with your colonized spawn.
There are many substrates you can choose to use such as: different types of wood, manure, compost, coco coir, coffee grounds, and soy hulls etc.
We suggest going with something that is easy to work with and does not easily contaminate with molds. Unlike mushroom grain spawn, substrate usually consists of several ingredients, mixed together to promote optimal fungal growth.
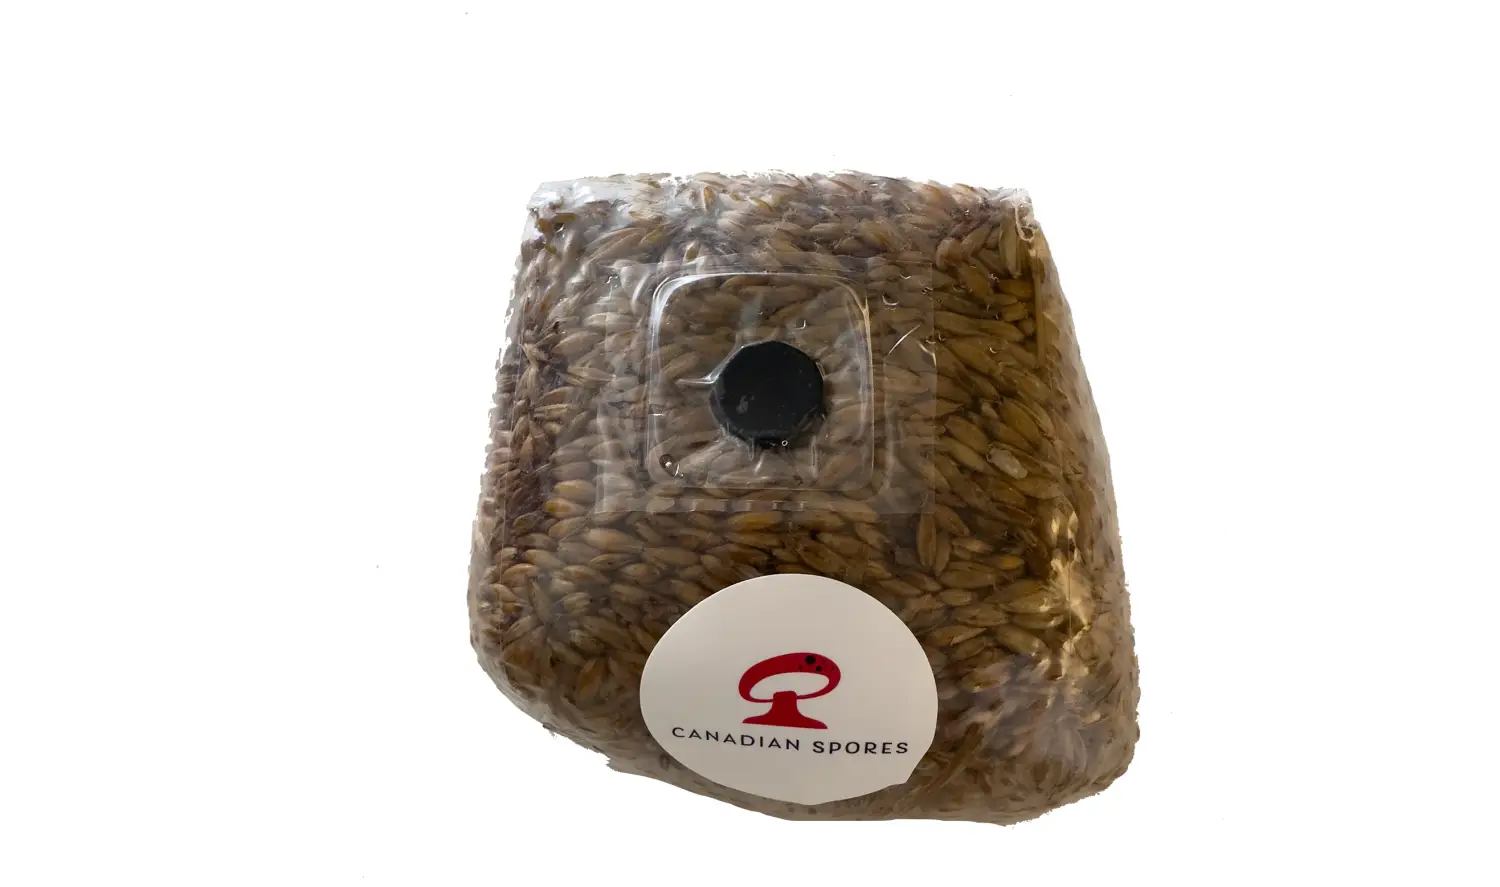
We sell a product called Shroom-Pro Optimized Mushroom Fruiting Substrate
2.5.2 Pasteurizing or Sterilizing Mushroom Substrate
Similarly to sterilization of mushroom spawn, mushroom substrate should also either be sterilized or pasteurized.
The ingredients of the substrate you choose will determine whether you need to fully sterilize it or just pasteurize. Our in-house substrate only requires pasteurization.
Pasteurization requires less intense heat and pressure when compared to full sterilization. The idea behind pasteurization is to kill the harmful bacteria, but keep the bacteria that is beneficial to fungal growth.
Pasteurization can be achieved with simple household items such as a bucket, lid, and boiling water. Whereas sterilization often requires expensive equipment such as a pressure cooker.
2.5.3 Achieving Field Capacity In Your Substrate
You must properly hydrate your substrate to promote optimal mushroom growth. This process is often called reaching ‘field capacity’ and is generally described as the state achieved after squeezing a handful of substrate with only a couple drops of water dripping out.
2.6 Step 6 - Mixing Substrate & Spawn To Create Mushroom Fruiting Substrate
Supplies:
- Isopropyl Alcohol
- Gloves
- Fruiting Tub/Bag
- Colonized Spawn
- Hydrated Substrate
- Flow Hood
- Still Air Box
Once your substrate is hydrated correctly and has cooled from sterilization or pasteurization, it is ready to be mixed with your fully colonized grain spawn. A quick reminder: clean everything, and ensure your work space is as sterile as possible. Anytime sterilized material is exposed to the open air, there is a risk for contamination, to prevent this use a flow hood or still air box.
There are many methods on how to mix your spawn and substrate, whether or not to use a liner, to tamp the surface after words or not to, what spawn to substrate ratio to use, casing layers etc.
We will leave these extra options for you to decide on your own. Mix your fully colonized grain spawn with the substrate you just made. The mixing should be performed in your desired fruiting device. This could be a fruiting bag, a container, tub, mushrooms fruiting chamber, fruiting dome.
2.7 Step 7 - Incubation Of Mushroom Fruiting Substrate
Once your substrate is hydrated correctly and has cooled from sterilization or pasteurization, it is ready to be mixed with your fully colonized grain spawn. A quick reminder: clean everything, and ensure your work space is as sterile as possible. Anytime sterilized material is exposed to the open air, there is a risk for contamination, to prevent this use a ow hood or still air box. There are many methods on how to mix your spawn and substrate, whether or not to use a liner, to tamp the surface after words or not to, what spawn to substrate ratio to use, casing layers etc. We will leave these extra options for you to decide on your own. Mix your fully colonized grain spawn with the substrate you just made. The mixing should be performed in your desired fruiting device. This could be a fruiting bag, a container, tub, mushrooms fruiting chamber, fruiting dome.
2.8 Step 8 - How To Fruit Magic Mushrooms
Supplies:
- Fine mist spray bottle
-
Light
Once the mushroom fruiting substrate is covered in mycelium, it’s time to place it in fruiting conditions to trigger your mushrooms to begin fruiting. In order to trigger mushrooms fruiting you must change the environmental conditions. Expose the fruiting substrate to more fresh air, increase the humidity, and allow it to get some light. This typically involves opening up some filtered air holes within your fruiting container, watering to increase humidity using a ne mist spray bottle, and increasing light exposure.

After a few days you should start to see pinheads (baby mushrooms) beginning to form on your substrate. Another few days will pass and these pinheads will mature into fully grown mushroom fruits. This is by far the most enjoyable part of mushroom growing. Watching the fruits of your labor burst out of the soil is so fulfilling.
2.9 Step 9 - Harvesting & Flushing Psychedelic Mushrooms
Supplies:
- Gloves
- Scissors
2.9.1 Harvesting Magic Mushrooms
The best time to harvest your mushrooms is right before the veil separates from the gills releasing its spores. Try to avoid letting the mushrooms release their spores all over your substrate, this can have negative effects on future flushes. Harvesting mushrooms is quite simple, normally all it takes is a gentle twist and pull from the base of the mushroom and they will break away from the substrate with ease.

2.9.2 Flushing Mushroom Substrate
Shrooms can be harvested and will grow back multiple times if the growing practices are correct. Each new wave of mushrooms is called a flush. To trigger more fruiting after a harvest, keep the substrate in fruiting conditions, and add more water. There are lots of different techniques when it comes to flushes, we will leave those up to you. Once the mycelium has used up all of the nutrients, your substrate is then exhausted and will stop producing mushrooms.
2.10 Step 10 - Drying Your Shrooms
Supplies:
- Dehydrator
- Drying Chamber (Optional)
- Oven (Optional)
Drying your mushrooms is fairly straightforward, if you don’t dry them they can rot and all of your hard work may go to waste. To dry your mushrooms you can use a food dehydrator, self made drying chamber, or a household oven. Avoid over-drying the mushrooms, you will know they are properly dried when they break apart easily with a snap, if they crumble you’ve over dried them.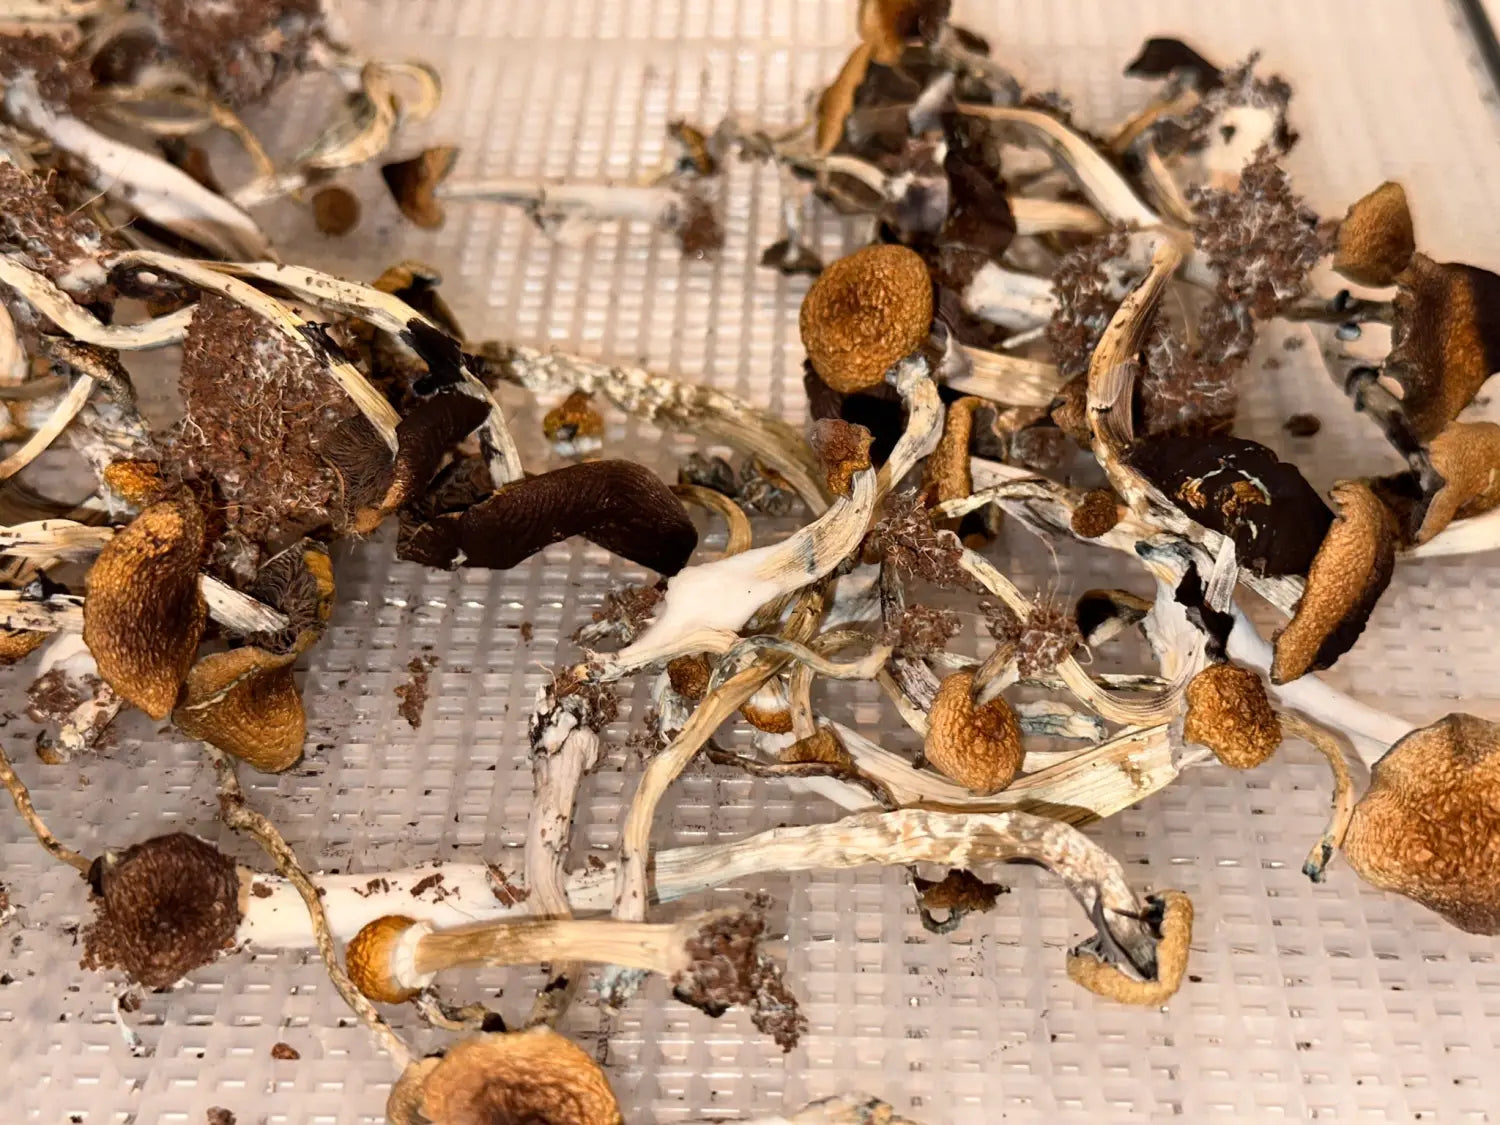
3. Fast Track Your Way To Mushrooms With Mushroom Grow Kits
Is this your first time growing mushrooms? A mushroom grow kit may help smooth the mushroom growing process out for you. Our mushroom grow kits come with pre-sterilized grain Substrate and include a variety of our in-house products such as substrate, lab supplies, and powerful magic mushroom spores. And of all you save money by purchasing these goods in a kit versus buying them individually. Beginning with a kit is the best way to learn about growing mushrooms while skipping some of the more challenging parts of the mushroom growing process. Grow kits can be a foolproof way to ensure your mushrooms grow successfully.

4. Choosing The Right Magic Mushroom Spores
We specialize in producing high quality magic mushroom spores for Canadian’s and the rest of the world. If you are new to mushroom growing, our spore inventory may leave you wondering which strains to pick?
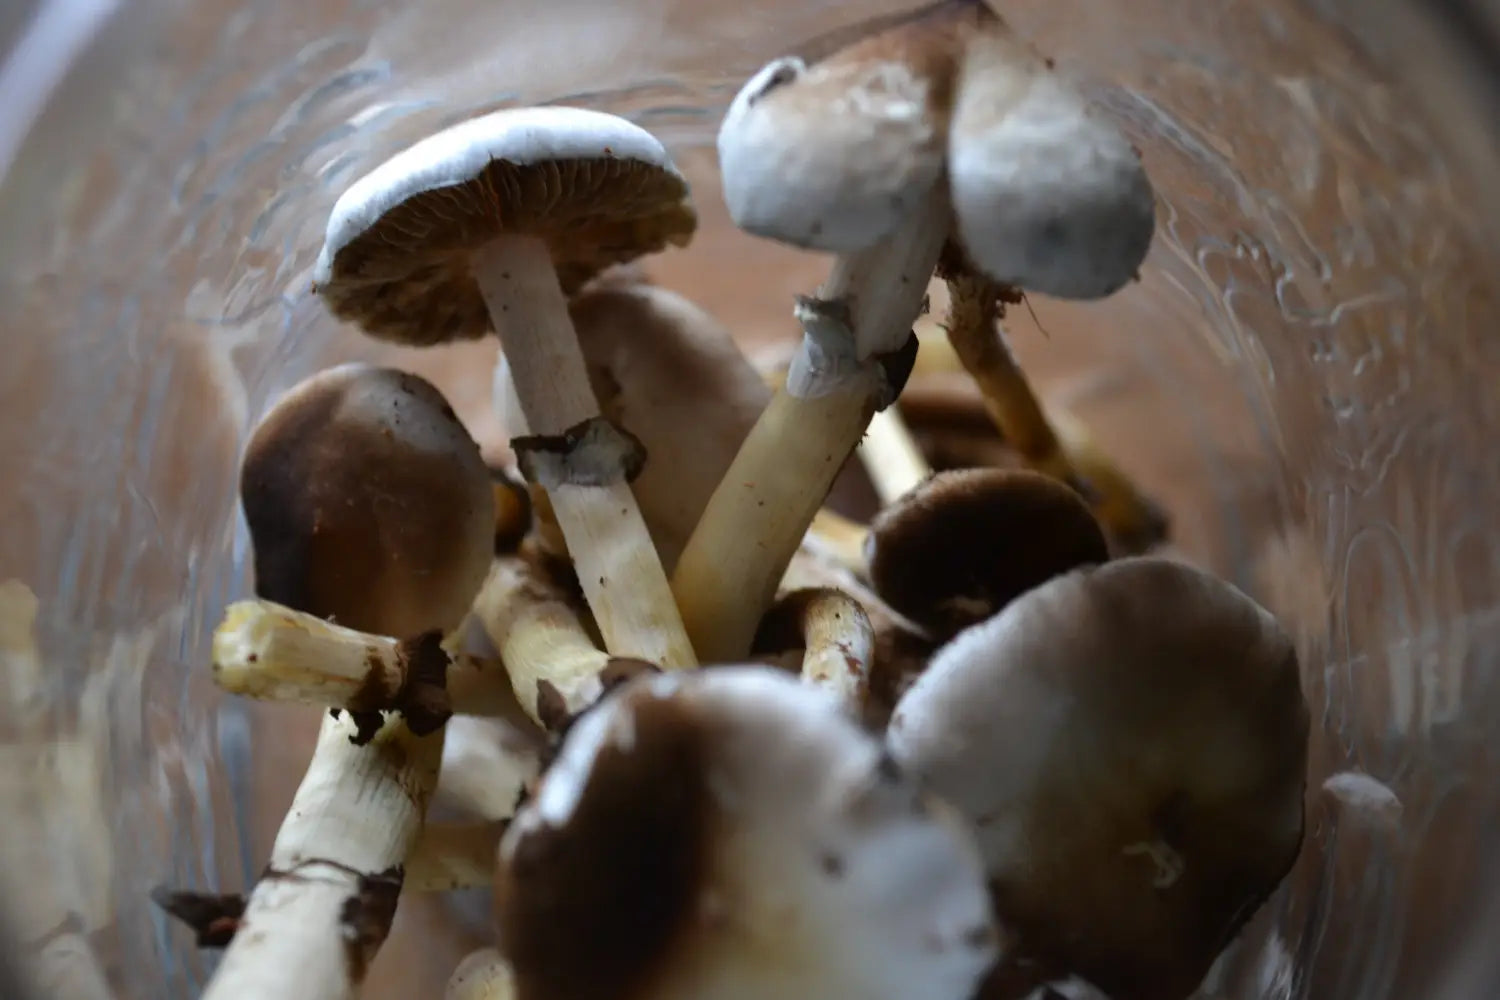
Hopefully this will help you decide!
