1. Equipment Needed To Begin Mushroom Microscopy 1.1 Best Microscope And Magnification For Studying Mushroom Spores 1.2 Microscope Calibration 1.3 Chemicals, Reagents, And Stains 1.3.1 KOH (Potasssium Hydroxide) 2. How To View Mushroom Spores Step-By-Step 2.1 Transfer Spores To A Microscopy Slide 2.2 Add Staining 2.3 Add A Coverslip 2.3 Add A Coverslip 2.4. Secure The Slide On The stage 2.5 Move Through Magnification 2.6 Oil-Immersion Lens 2.7 Bring The Spore To Full Focus 3. How To Measure Mushroom Spores 4. Mycology Microscopy Images 1000x Magnified Using A Microscope 5. Conclusion
The term ‘microscopy’ refers to using a microscope to study objects that cannot be seen with the human eye. Magic Mushrooms and their spores are just one of the many organisms you can study using a microscope. With practice and the correct technique, mushroom microscopy allows us to visualize fungal spores and other mushroom micro-structures.
Aside from simply viewing, microscopic analysis has given us the ability to identify, measure, and photograph spores and mushrooms like never before. If you’re new to microscopy, this article will teach you which equipment you need, how to use a microscope, and how to study mushrooms and their spores.
1. Equipment Needed To Begin Mushroom Microscopy
Supplies:
- Slides
- Microscope
- Coverslips
- Lens Tissues
- Immersion oil
- Mushroom Spores
- Sharp Razor Blades
- Extra Illuminator Bulbs
- Oil Immersion Lens
- Chemicals and Stains
New microscopes can be quite expensive, if you’re on a budget try finding a decent used one. Check your local universities and laboratories to see if they are willing to sell you old equipment. Most of the other supplies needed here can be sourced locally or online. For lens paper, you can try your local camera shop or optometrist. Finding the chemicals needed for staining may prove challenging, I will touch on chemicals below. To begin mushroom microscopy you can expect to spend $500 between $700. If you can nd a quality microscope for a really good deal it will dramatically lower your total cost.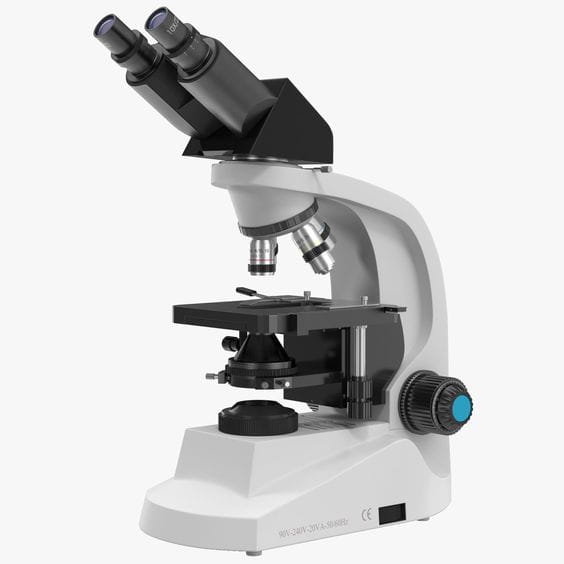
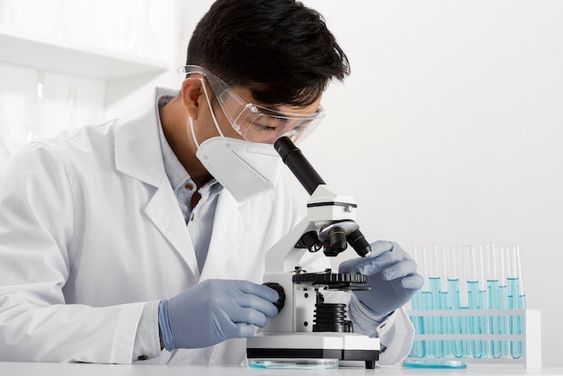
1.1 Best Microscope And Magnification For Studying Mushroom Spores
A microscope capable of 1000x magnification with an oil immersion lens will be suitable to examine mushrooms and their spores. Additionally, the microscope should have a ne-focus knob, the ability to move its stage, and an electric light source. Also, make sure the eyepiece has an ocular micrometer in it so you can measure objects.
1.2 Microscope Calibration
To properly calibrate a microscope you will need a special slide called a ‘stage micrometer’. Now compare the units in your microscope’s eyepiece measuring system to the predetermined units on the stage micrometer. Now that you have a conversion basis, each time you measure something you may need to apply the conversion unless you find that your conversion is 1:1.
1.3 Chemicals, Reagents, And Stains
Without the use of stains and reagents, it will be hard to see many of your study specimens’ features. Unfortunately sourcing the chemicals required for mycological microscopy will be challenging.
1.3.1 KOH (Potasssium Hydroxide)
KOH is used as a mounting medium for the microscopic examination of fungi. This chemical can help make tissues and structures visible. With a bit of luck and hunting you should be able to find KOH through online vendors.
1.3.2 Phloxine
This stain is quite easy to find and is also available through online retailers. Phloxine is a red stain that’s good at making structures more visible.
1.3.3 Melzer's reagent
In mushroom microscopy, Melzer’s reagent is used to determine whether spores and tissues are amyloid, inamyloid, or dextrinoid. Unfortunately, Melzer’s contains chloral hydrate, which is a controlled substance making it extremely difficult to source. It also contains water, iodine, and potassium iodide, which are all quite easy to obtain. You can start by checking with your local professional mycologists, but even they may have trouble obtaining Melzer’s, so they may not be willing to give/sell you any. The next best option is to try to explain to your doctor why you need a prescription for chloral hydrate, which will be interesting considering chloral hydrate can be used as a date rape drug. Alternatively, you could ask for a prescription of Melzer’s reagent itself, which a pharmacist could mix for you given the correct formula instructed by your doctor on the prescription.
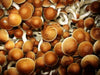
1.4 Sourcing Mushrooms Spores
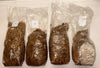
Mushroom spores can be purchased from various online vendors or mycologists you may know personally. Luckily we are one of the industries leading spore vendors with many years of experience in mycology.
We have a wide selection of mushroom spore syringes to choose from and we are continuously adding them to our inventory. All of our spore strains are tested before ever making them available to the public. Rest assured we offer nothing but the best quality products.
1.4.1 Spore Syringe vs Spore Print For Microscopy
Mushroom spore syringes provide the easiest route to microscopic examination because the spores are already hydrated and suspended in distilled water. Now, all that’s left to do is inject spore solution onto a microscope slide and add your desired stains to increase visibility.
Examining spores from a spore print involves a similar process, except instead of injecting the spores, one must scrap the spores from the print onto the microscope slide and add stains. For those of you who would rather make your own syringes or prints rather than purchase them, we have guides for you.
Read: How to Make Spore Syringes
2. How To View Magic Mushroom Spores Step-By-Step
The most common microscopy technique to visualize fungi and their spores is to start from low magnification and progressively increase to high magnification. If you start with your highest magnification it will be difficult to find the spores because they are so tiny.
2.1 Transfer Spores To A Microscopy Slide
From spore prints, scrap some spores onto your razor blade, then tap the spore dust off the blade, onto a slide. From spore syringes, simply inject spore solution onto a slide.
2.2 Add Staining
Add a drop of KOH or Melzer’s reagent onto the slide of spores.
2.3 Add A Coverslip
Add a coverslip, and gently tap on the coverslip with a small object to remove any air bubbles.
2.4. Secure The Slide On The stage
Place the slide on your microscope’s stage and begin with low magnication
2.5 Move Through Magnification
The spores may still be very tiny, for this reason, you will need to progressively move through your magnifications, bringing the spores into focus each time
2.6 Oil-Immersion Lens
Before moving to the highest magnification (oil-immersion lens), add a drop of immersion oil to the top of the coverslip.
2.7 Bring The Spore To Full Focus
Carefully adjust the coarse focus knob until the spores are almost in focus, then adjust the ne focus knob to make the spores completely visible.
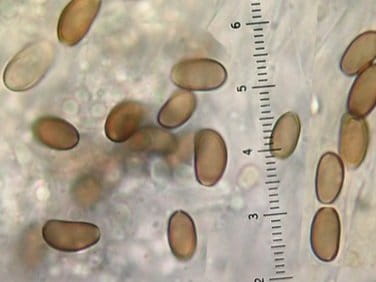
3. How To Measure Mushroom Spores
Use the ruler in your eyepiece to measure spores, remember to convert the values to microns using the conversion basis you established while calibrating your microscope. To get a general understanding of how large the spores are you will need to take multiple measurements. In most cases, 10 to 20 measurements should be enough.
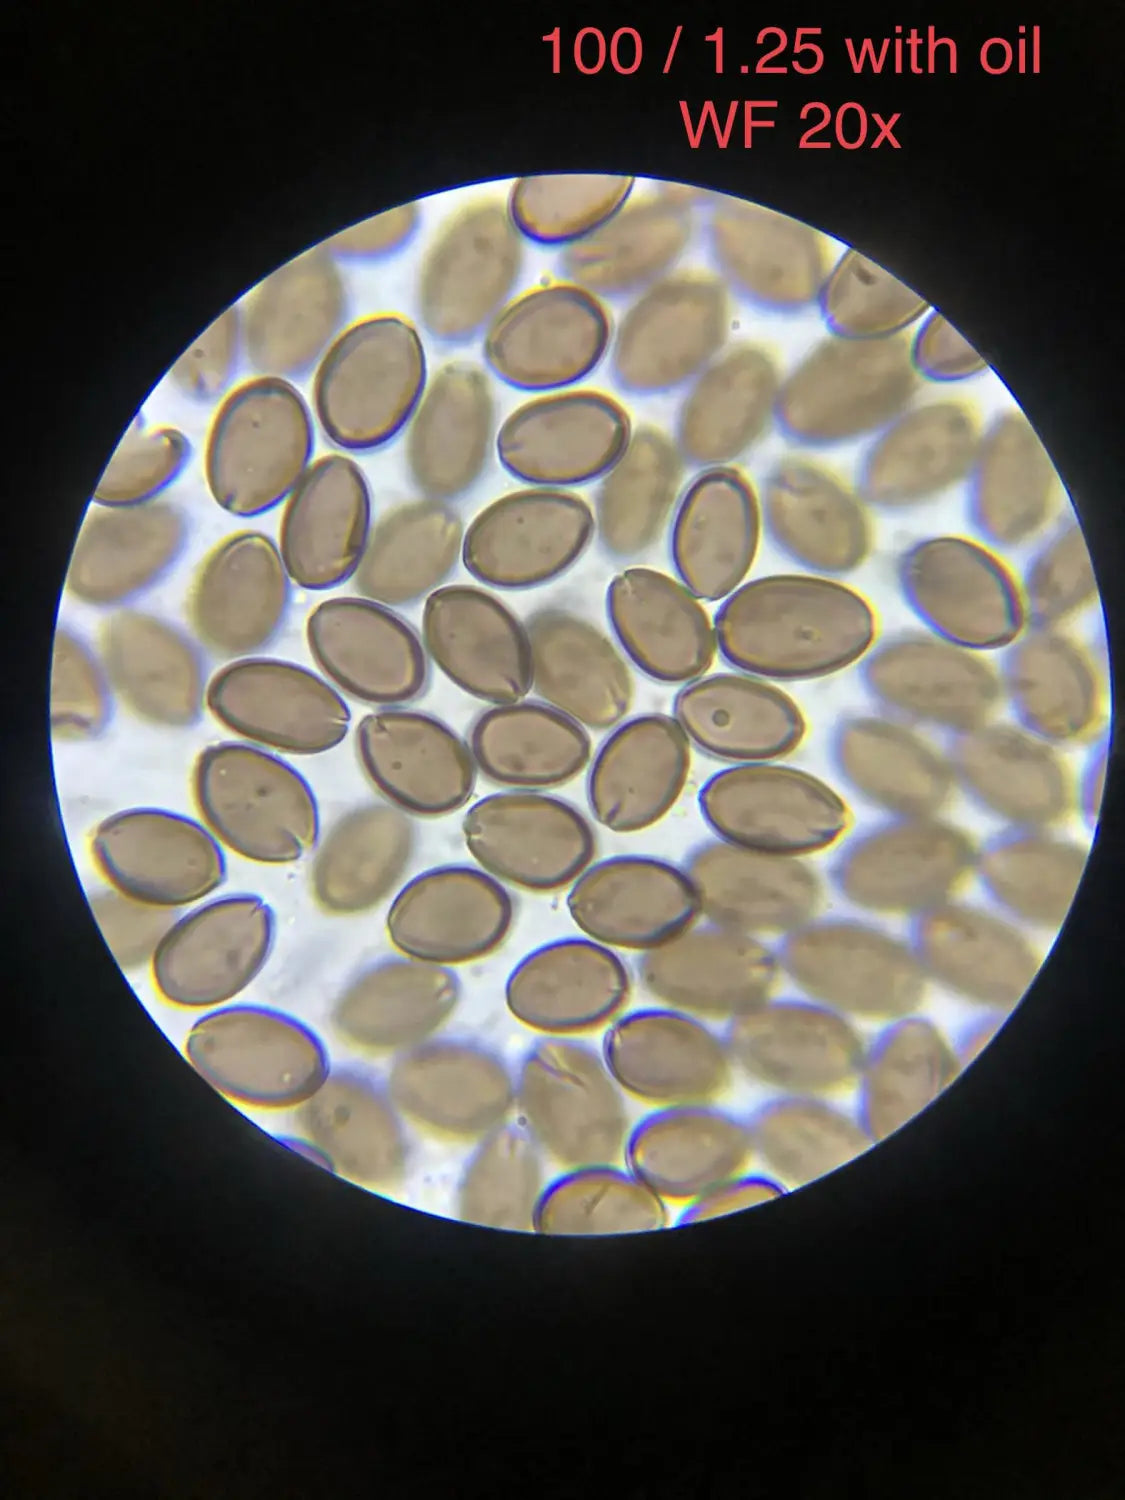
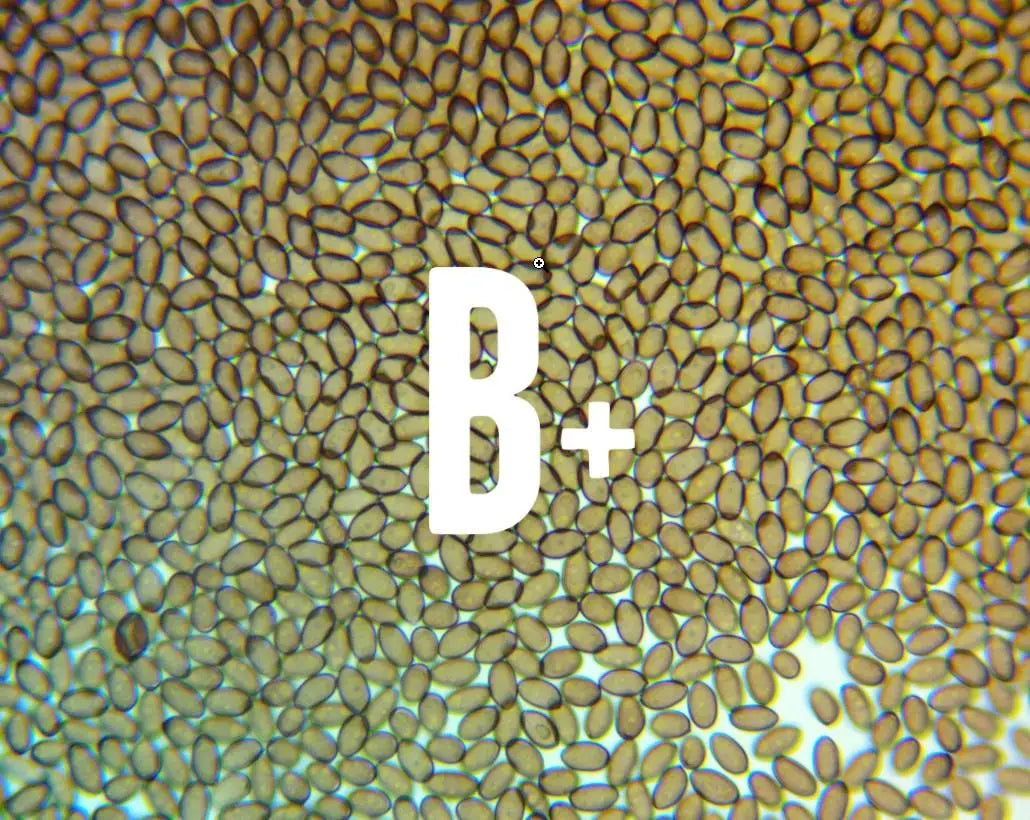
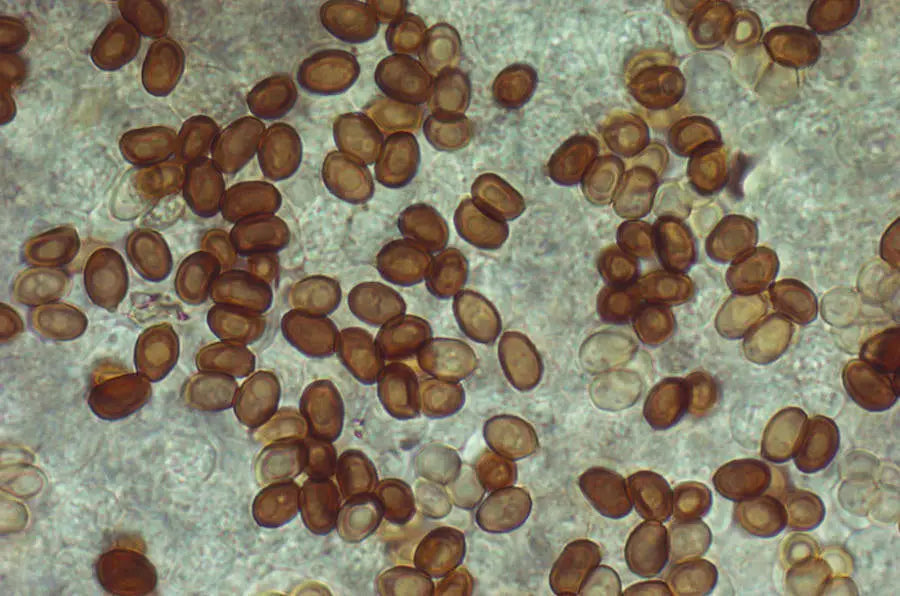
4. Mycology Microscopy Images 1000x Magnified Using A Microscope
5. Conclusion
Now that you know how to examine and measure mushroom spores under a microscope you can easily identify specific mushroom species by viewing, measuring, documenting, and photographing your favorite strains. The key to successful spore microscopy starts with a good 1000x magnification microscope with an oil immersion lens. It’s critical to begin your studies at low magnification and progressively increase to high magnification to find the tiny mushroom spores.